


My kids love having pinatas at their parties. I however, am not very
fond of the idea of a bunch of preschoolers swinging a stick around
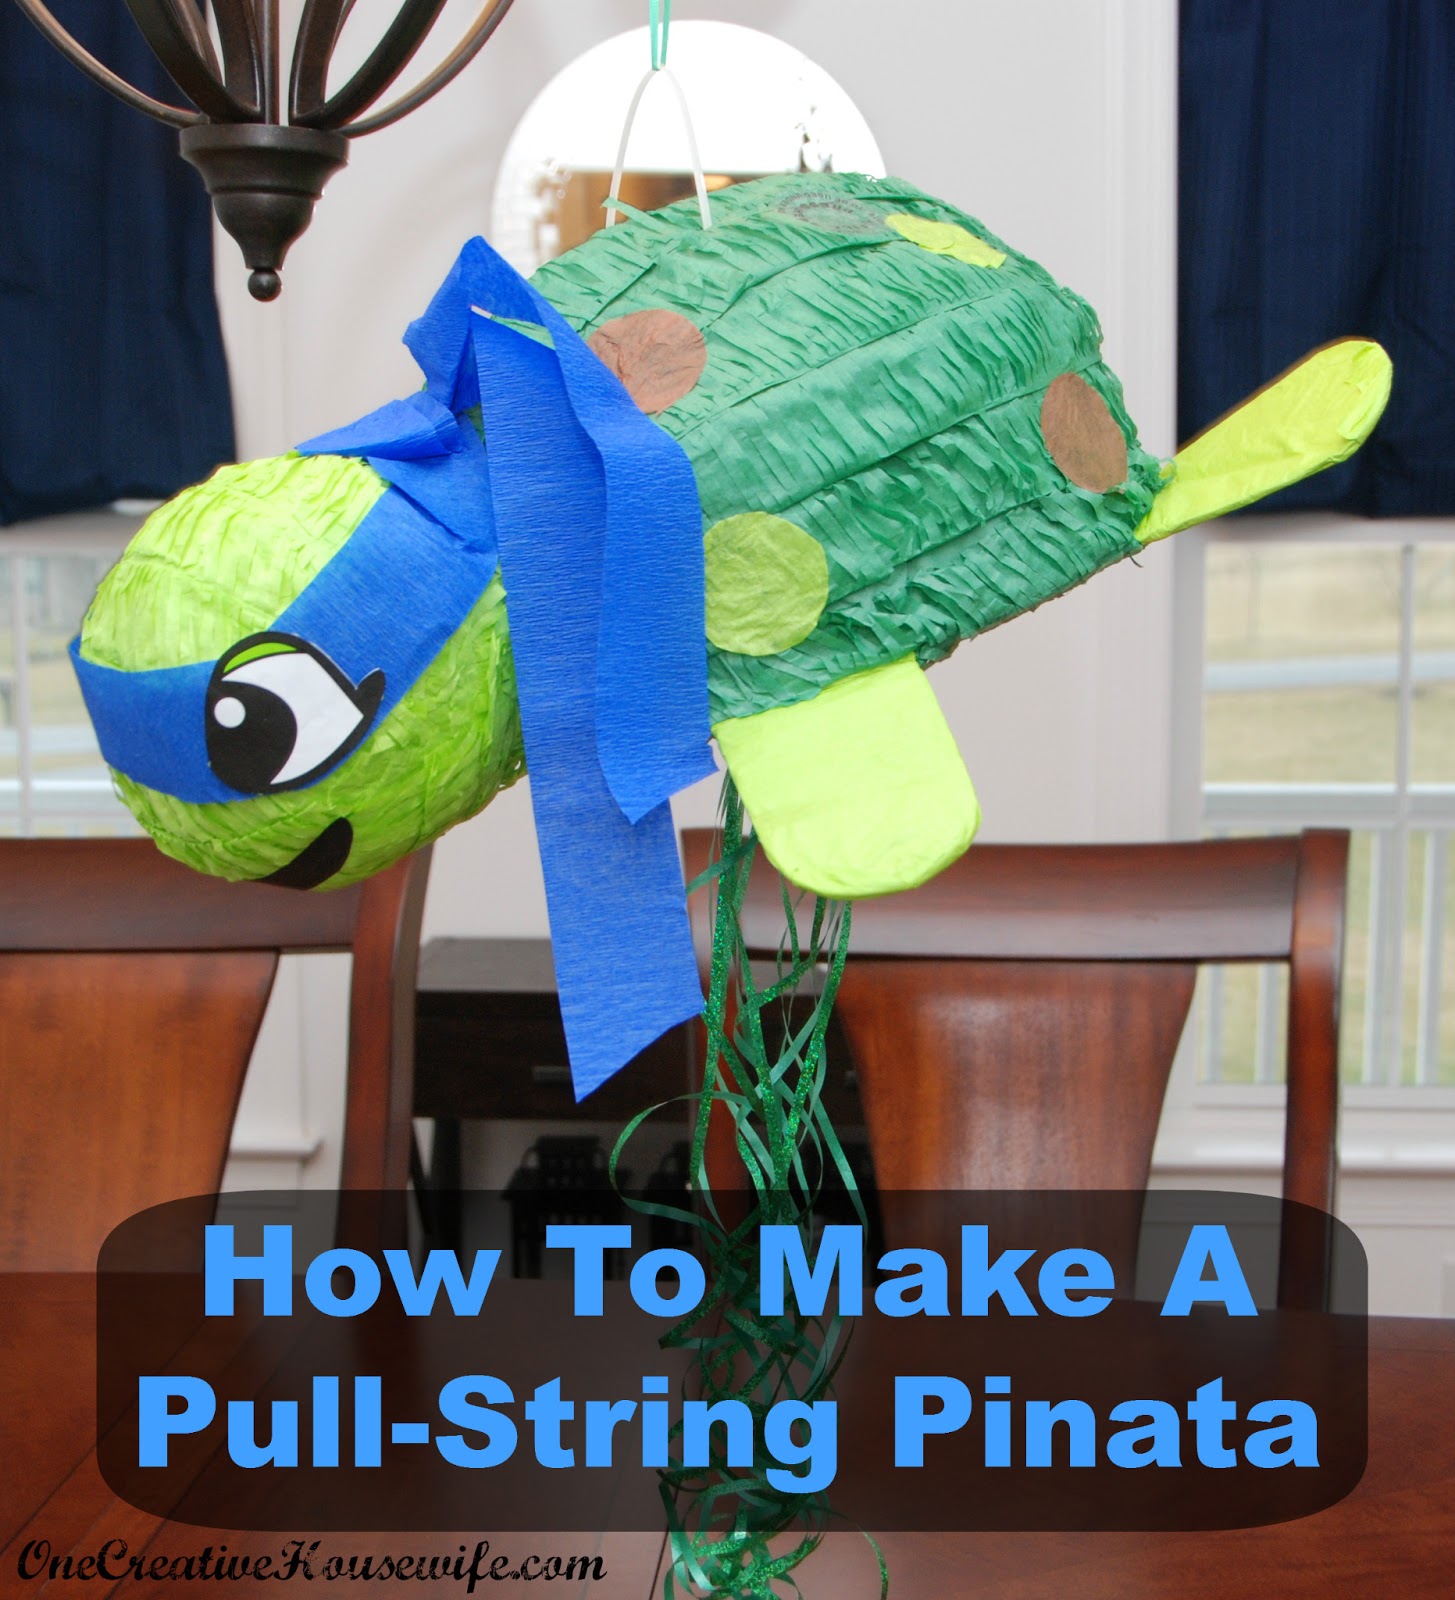
inside my house. This is why I like to turn regular pinatas into
pull-string pinatas. It is actually very easy, and can be done to any
pinata.

Supplies
Pinata
Ribbon
Scissors
Tape
Exacto Knife or Box Cutter
Stick Glue
Matching Tissue Paper (optional)
Method
1. Carefully remove anything that can be used to cover the ribbon locations. (If you don't have anything to remove move on to Step 2.)

2. Using a box cutter, carefully cut 3 sides of a rectangle in the bottom of the pinata, to create a little "door". You want to make the opening big enough for what you are filling your pinata with to come out, but you do not want it to be so large that the pressure of the filling pushes the door open.

3. Cut your ribbon in to pieces that are 2-3 feet in length. You want them long enough so that the kids will be able to reach them when the pinata is hung. Try to make the pieces similar length. You can make as many or as few ribbons as you'd like, I did 2 for each child attending the party.
4. Make a small slit in the center of the "door", and place one piece of the ribbon through the hole. Tie a knot in the ribbon, on the inside of the "door", and tape the ribbon down. (If you are filling your pinata through the "door", fill it now. If you are filling it through a premade hole in the top you can fill it whenever you like.)

5. Close the "door", and randomly tape the rest of the ribbons on and around the door. Use tiny pieces of tape; so that the ribbons will rip off easily, and so you can easily disguise which ribbon is the one that will open the pinata.

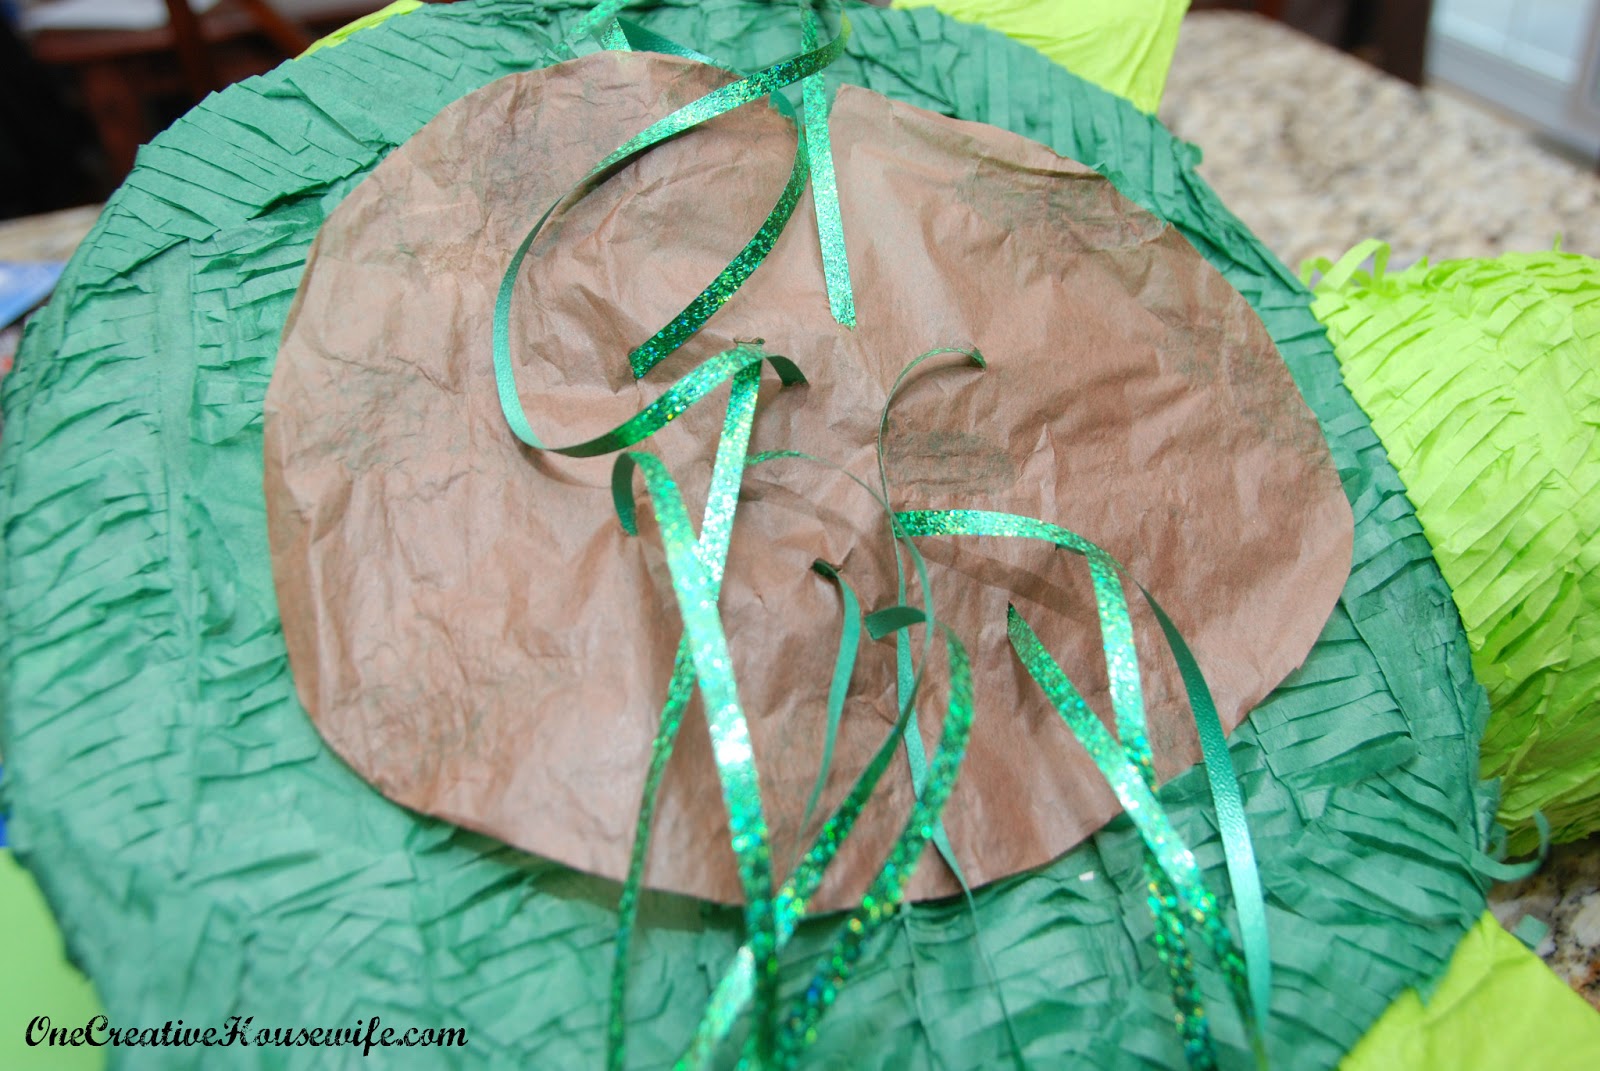
6. Cover the "door" opening and ribbon ends with pieces of matching tissue paper.
OR
If you removed anything in step 1 you can replace it now. I cut tiny slits in the brown piece I replaced, so that the ribbons would drop through. Then I glued the brown piece down around the edges.
Your pinata is now ready to P-A-R-T-Y!
To turn the turtle pinata into a Ninja Turtle, I first carefully removed the eyes. Then I glued a piece of crape paper around the turtles head and knotted it in the back. Next I glued the eyes back on over the crape paper, and attached a piece of black electrical tape for a mouth.

This was a cheap and super simple solution to my problem of not finding a Ninja Turtle pinata on the market.
If you would like to see more from my son's Teenage Mutant Ninja Turtle party, check out these posts.
The Decorations {Part 1}
The Food {Part 2}
The Favors {Part 3}
I'll Be Linking Up At Some Of These Parties!
I love this idea! It is so much safer than a stick and the surprise of pulling the right ribbon and getting all the candy is still there!
ReplyDeleteThanks! and Thanks for stopping by!!!
DeleteThank you for sharing. I too love this idea, but finding a pull-pinata was not easy. I'm glad you took the initiative to figure it out and blog about it. I've already finished a modified Cupcake pinata for my daughter's party tomorrow. I'll let you know how it works.
ReplyDeletethanks for sharing. I've been making the bird from UP and it's kinda wrong to encourage the preschoolers to beat him with a bat to make the candy come out, so I'm very excited to try this instead. Can't wait to try this, his tail can be the ribbons!!
ReplyDelete